Pine Cone Owl Wall Hanging
Pine cone Crafts for Kids Pine Cone Owl Wall Hanging

Pine Cone Owl Wall Hanging

Create Pine Cone Owl Wall Hanging Instructions

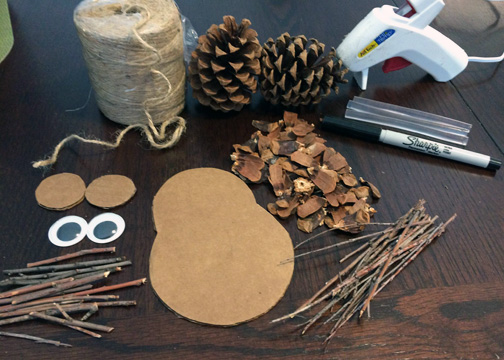
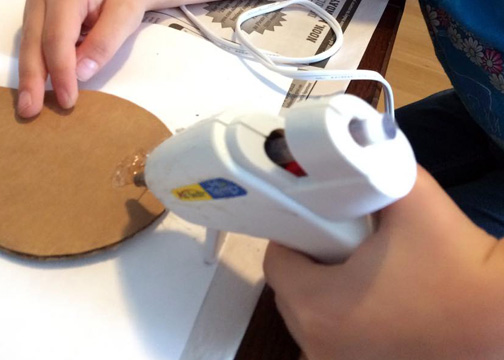
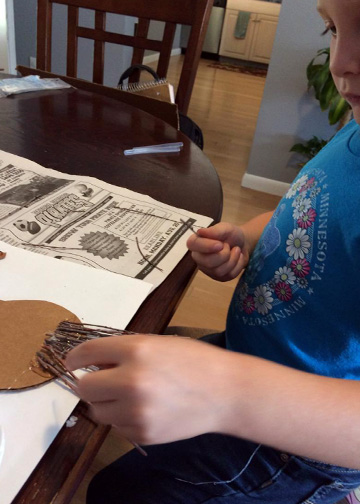
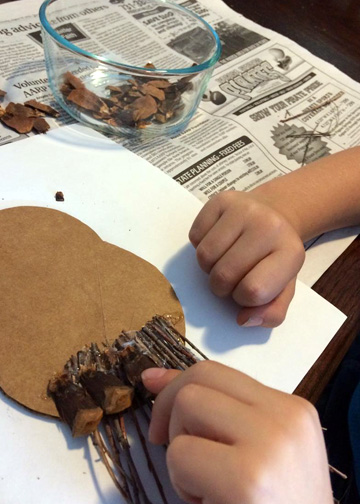
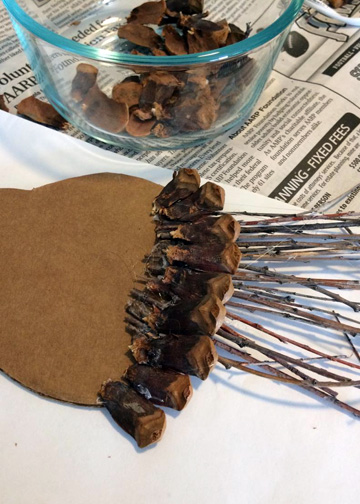
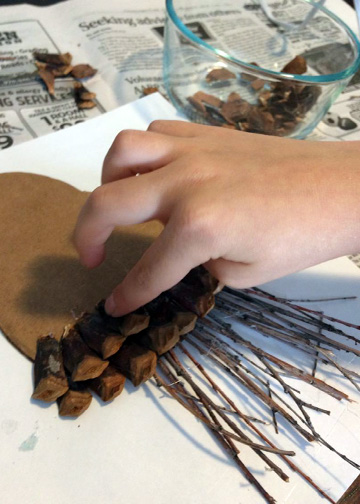
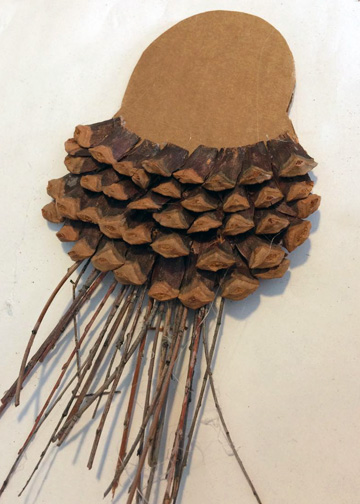
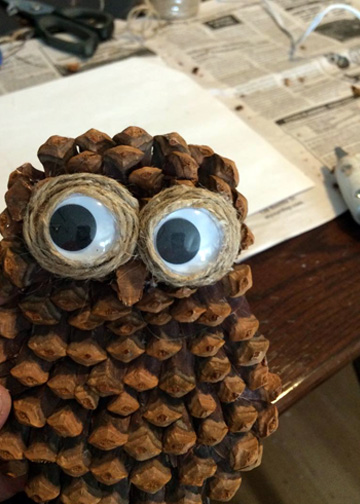
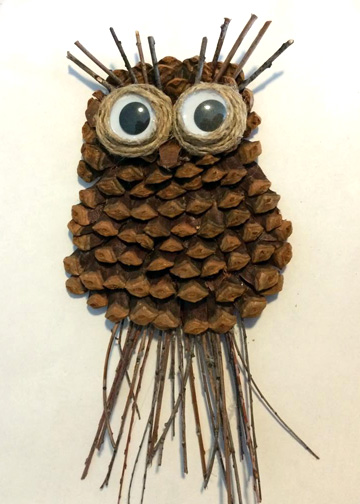
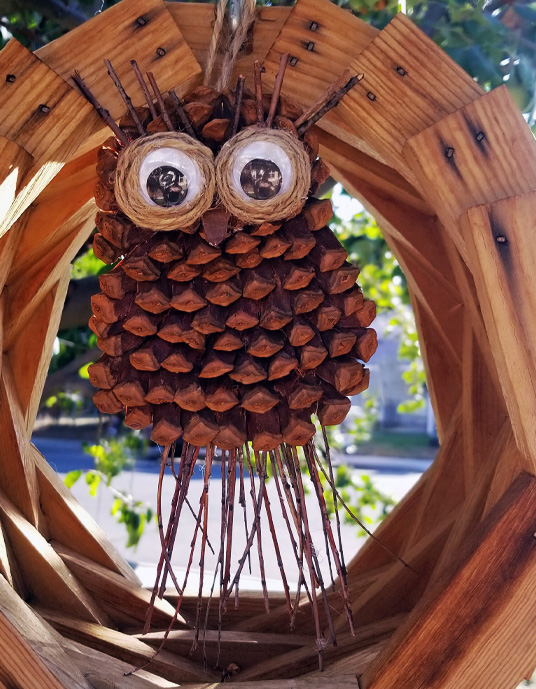
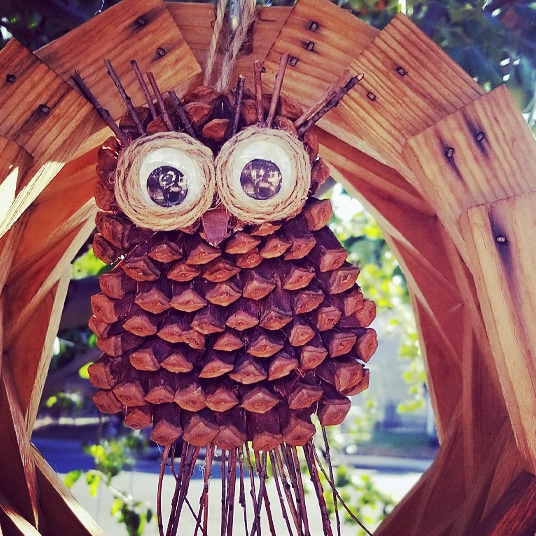
This adorable pine cone owl wall hanging is a real hoot! This craft is a little more advanced and will require patience, a steady hand and adult supervision but is will worth the effort. Our little one really enjoyed layering on the willow sticks, pine pieces and of course the googly eyes. 

What you will need

(Check out our how to Cut Pine Cone Petals Tutorial HERE)

Pine Cone Owl

Create Card Board Body

First create the cardboard body for your pine cone owl. To do this we traced a peanut butter lid for the wide part and a tin can for the smaller upper part. Then we just cut out our shape.  We used a shot glass for our cardboard eyes cut out.

Create Willow Stick Tail Feathers

 Then cut the willow sticks for the bottom to the desired length, we cut ours about 5 inches. Now apply a generous layer of glue to attach the willow sticks to the cardboard as seen below. 

Pine Cone Owl Wall Hanging

Continue gluing on the willow sticks until you have a desired amount keeping about an inch are to from the bottom. Our little worker chose the amount seen below. 

Pine Cone Owl Wall Hanging

Layer On Pine Cone Petals

Next Start laying your pine cone petals at the bottom so they are layers on top of the will sticks and hanging just over the edge of the cardboard. Our little worker did her best to keep them in a straight and even row. 

Pine Cone Owl Wall Hanging

Complete your first layer as seen in the image making sure to keep even spacing and follow the shape of your card board cut out. 

Pine Cone Owl Wall Hanging

Now you can start the second layer of your pine cone owl by just adding a new row layered on top of the first row. remember to keep even spacing and follow that shape of your cut out. 

Pine Cone Owl Wall Hanging

Continue layering the pine cone petals working your way up and doign your best to keep the spacing nice and even. 

Pine Cone Owl Wall Hanging

Once you get to the head section creating a layer of petals circling around the out edge of the head shape keeping your petals evenly spaced. 

Pine Cone Owl Wall Hanging

Create The Pine Cone Owl Eyes

Next filling in the head portion pine cone pedals start creating they eyes by wrapping twine around its self creating a tight small disc shape. 

Pine Cone Owl Wall Hanging

Apply glue to the round eye cardboard shape you cut out on the first step and attach your round twine disc to the cardboard shape.  Cut the excess twine off and use the glue gun to secure the end of the twine.  Repeat this step to create the second twine pine cone owl eye. 

Pine Cone Owl Wall Hanging

Glue the two eyes to the pine cone owls head in the desired location. 

Pine Cone Owl Wall Hanging

Now  glue the googly eyes on top of the twine.  We glued a single layer of twine around the googly eyes to help them blend.  

Pine Cone Owl Wall Hanging

Create the Owl Eye Brows

Next we created our pine cone owls eyebrows by apply glue to the end of our willow stick and inserting them behind the owls eyes.  Try to keep an even spacing while applying your eyebrows. 

Pine Cone Owl Wall Hanging

Creat The Loop To Hang It From

Finally we created a loop for our pine cone owl wall hanging and tied it off with knot and applied it the back of our pine cone owl with our glue gun. 

Pine Cone Owl Wall Hanging

Congratulations

 Your Pine Cone Owl Wall Hanging is complete. If you liked this tutorial please leave a comment below and share!  You can also check out our Felt Pine Cone Owls here

Pine Cone Owl Wall Hanging
Please share this

This Post Has One Comment

Comments are closed.