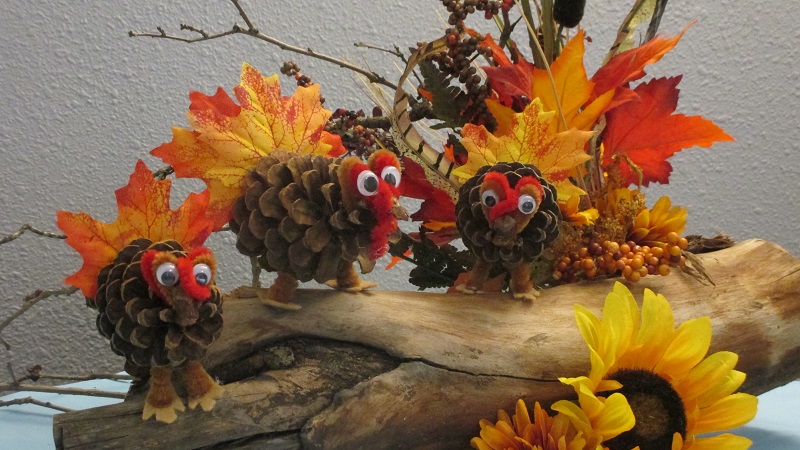
This cute little rafter of pine cone turkeys is perfect for your fall or holiday decorations. You can work them into a beautiful centerpiece or let them shine as stand alone decorations. Either way these cute pine cone turkeys are sure to get noticed.
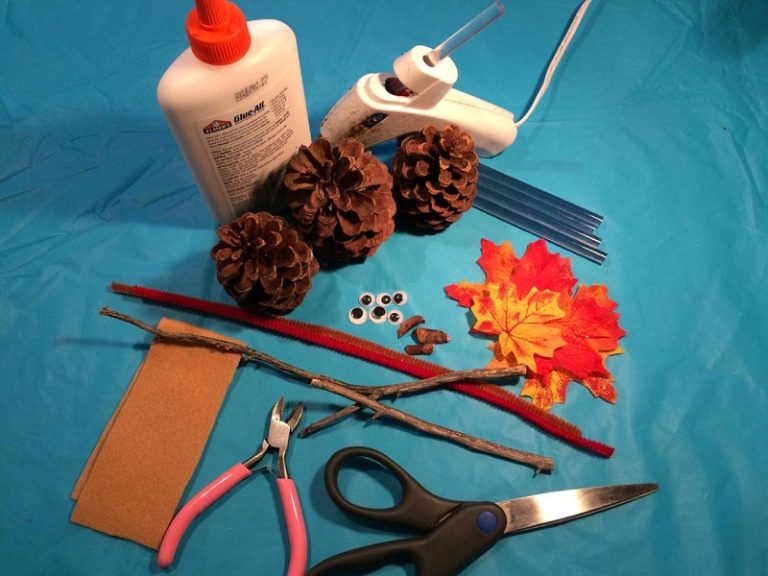
First gather all materials needed for this project. Make sure you clean and prepare the pine cones before starting. You can view a video on preparing pine cones for crafts here. Some pine cones have sharp spines on the back side of the scales that can be easily nipped off with scissors if needed.
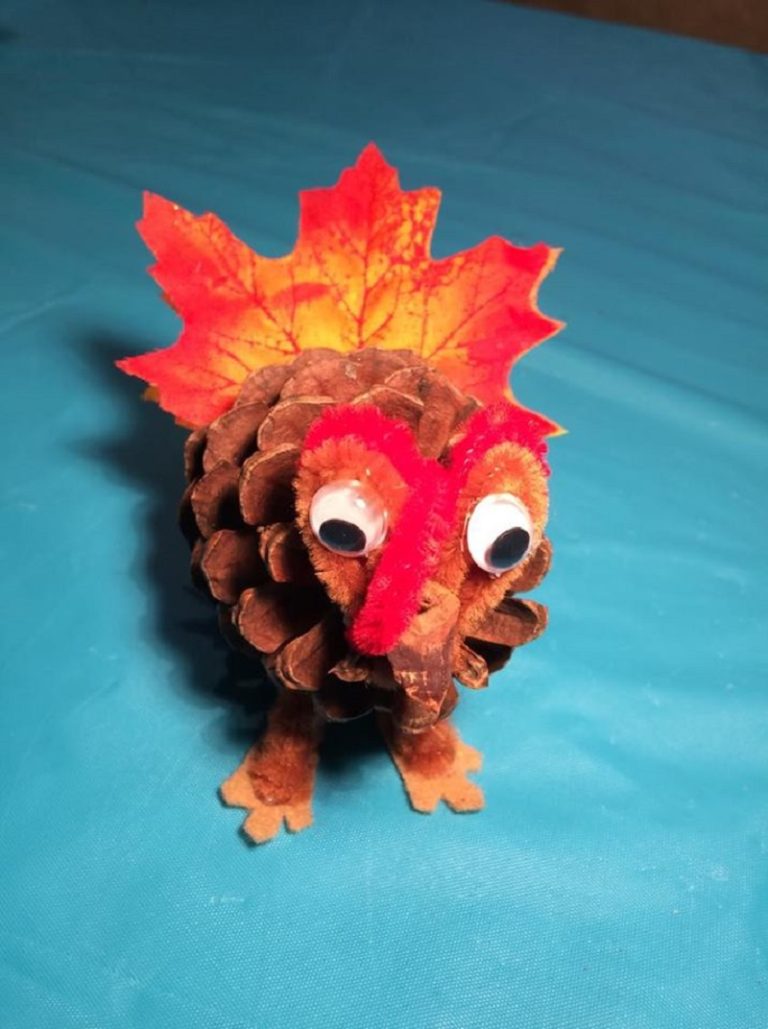
Pine Cone Turkeys Tail Feathers
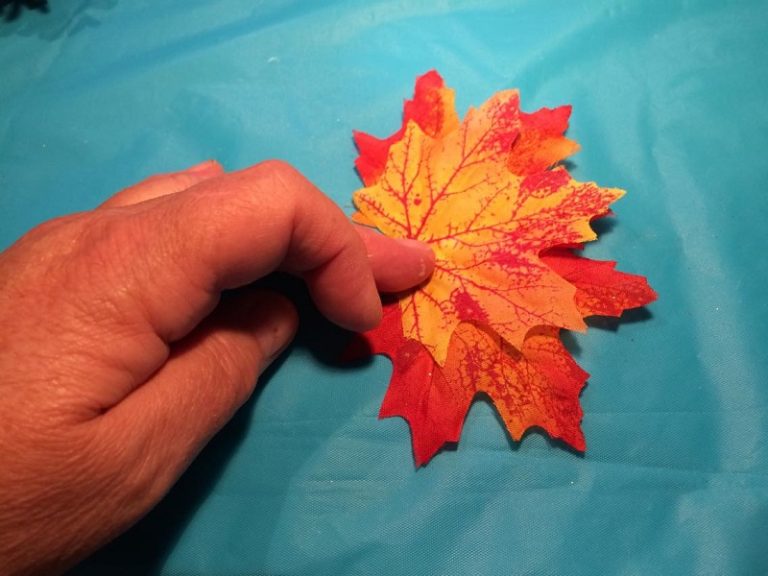
First choose the leaves you will use for each turkey. The tom’s tail feathers will be larger, and call for 3 leaves. The hen’s tail feathers are smaller and will only take one leaf.
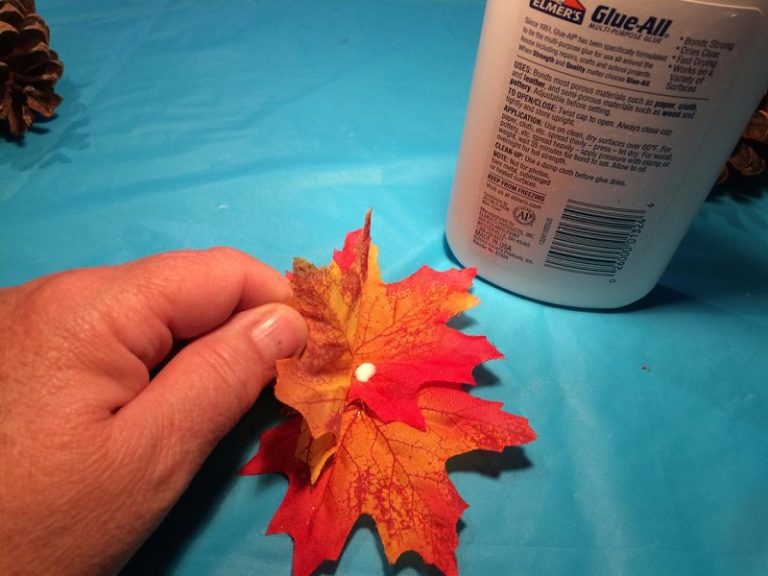
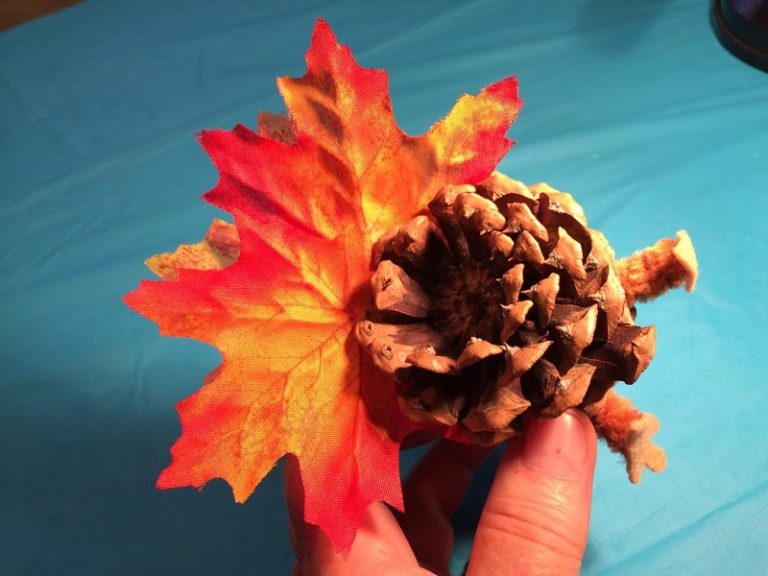
First position the 3 leaves with two on each side and one overlapping them both in the center front. After the leaves are in position where you will want them, glue them together with a drop of the white glue between each of the leaves. Next press the leaves together and allow them to dry in place. Don’t attach them to the pine cone until the face has been completed. This will allow you to be able to center and align the turkey’s tail with its face. You can slide them , unglued, between the scales while working on it.
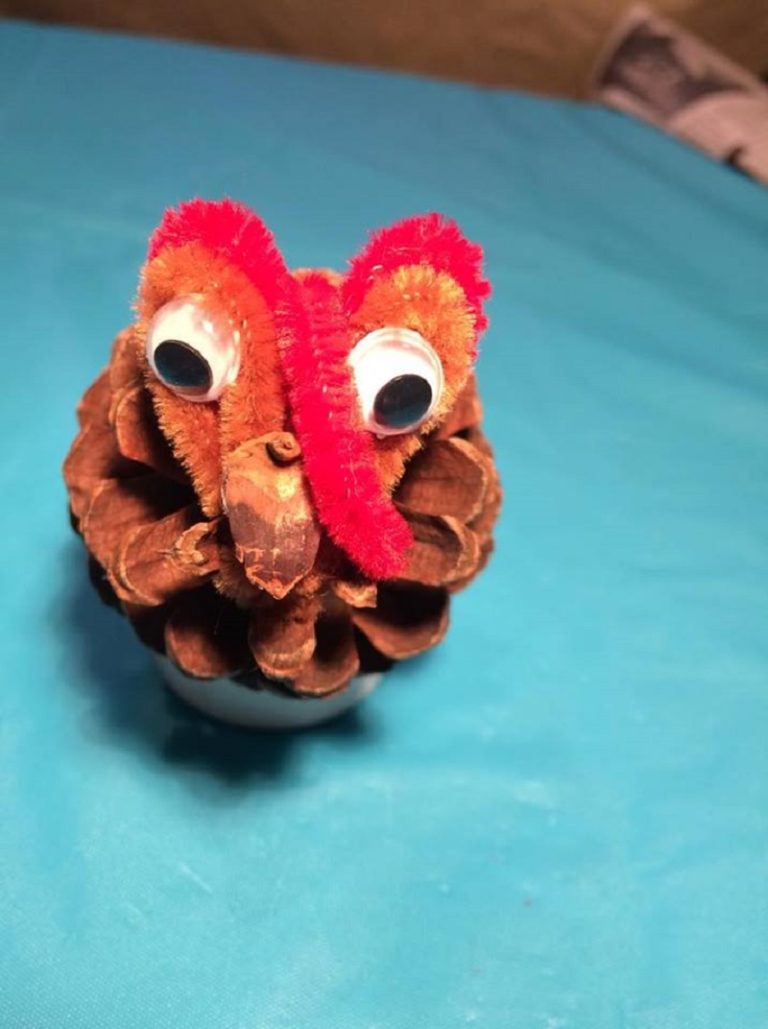
Pine Cone Turkey Toms Head
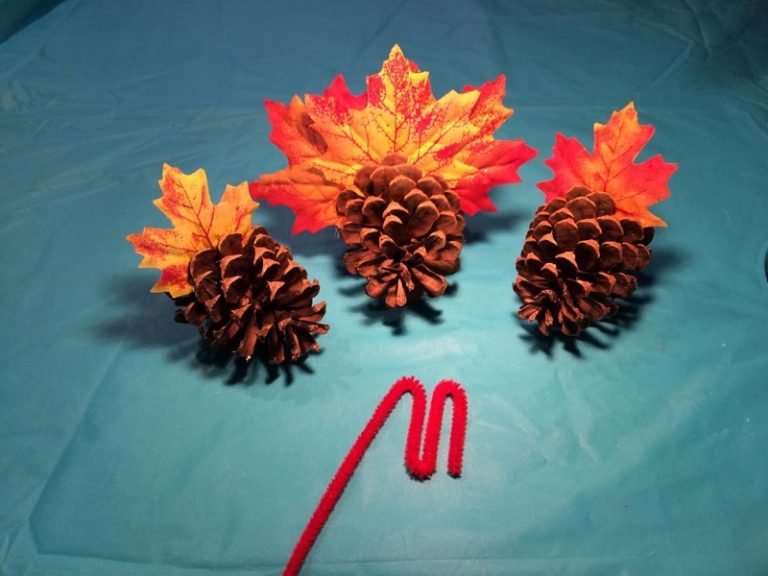
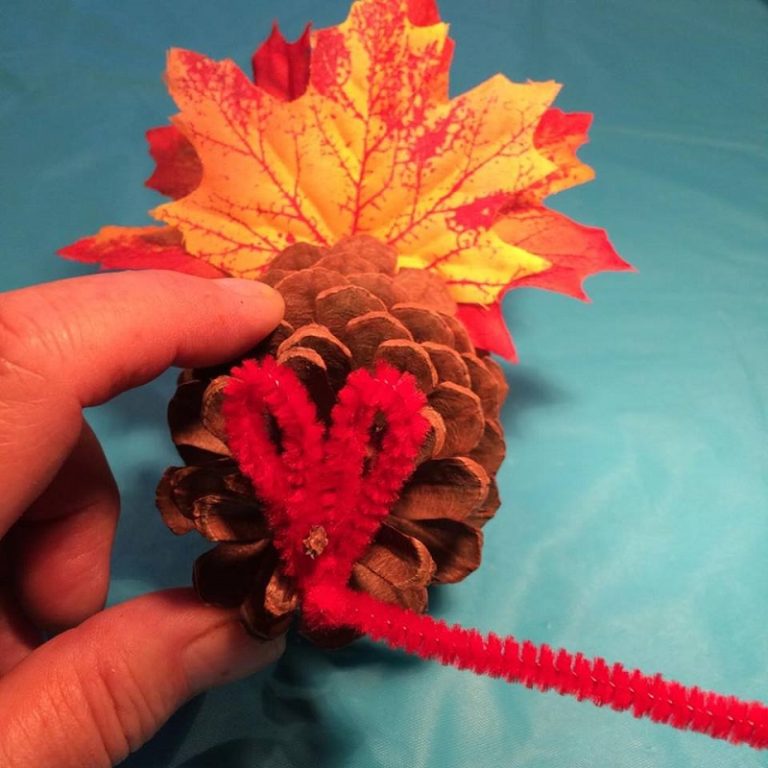
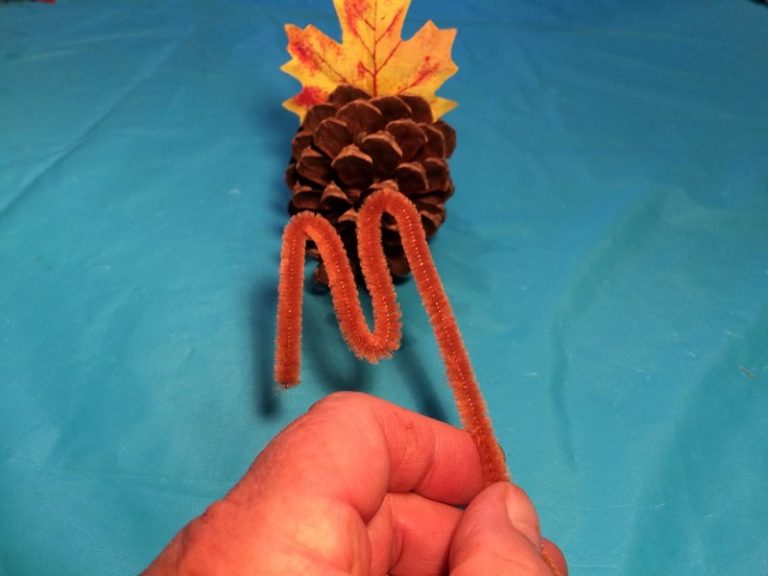
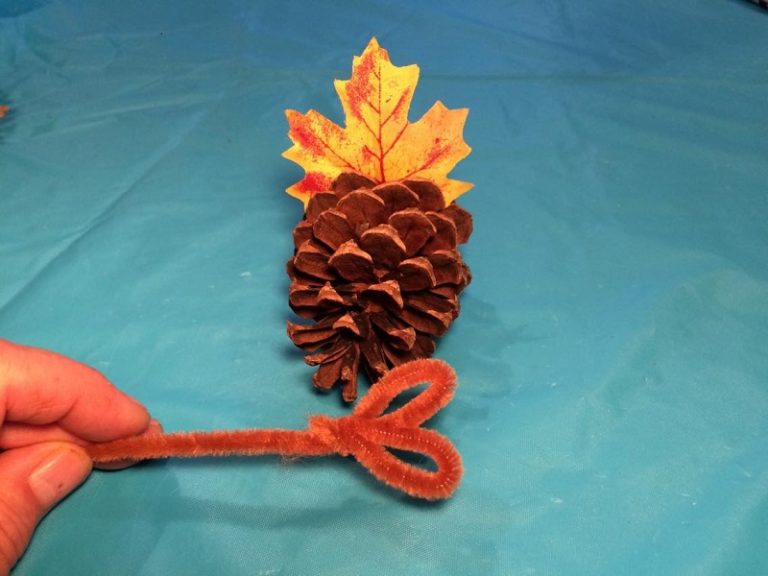
We will be putting together the larger Tom turkey first. First shape one end of a ‘red’ pipe cleaner so it resembles an M with a long tail.
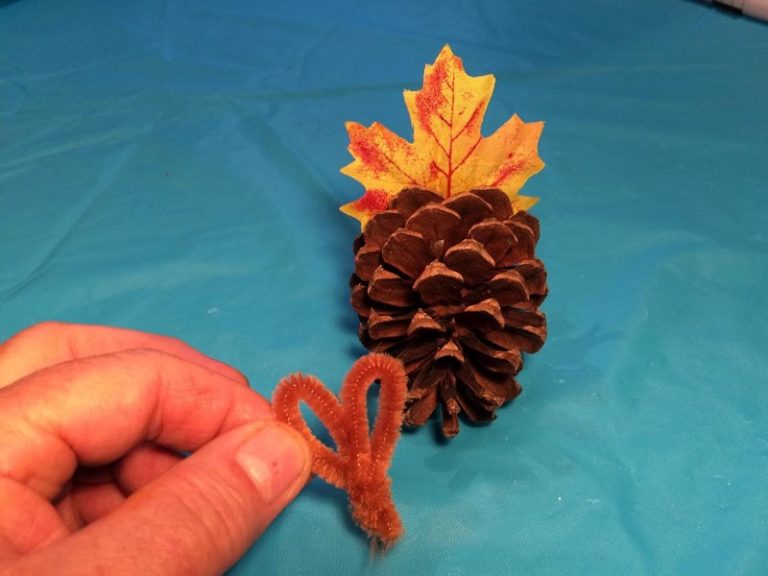
Next push the sides of the M together to form two small loops at the top.
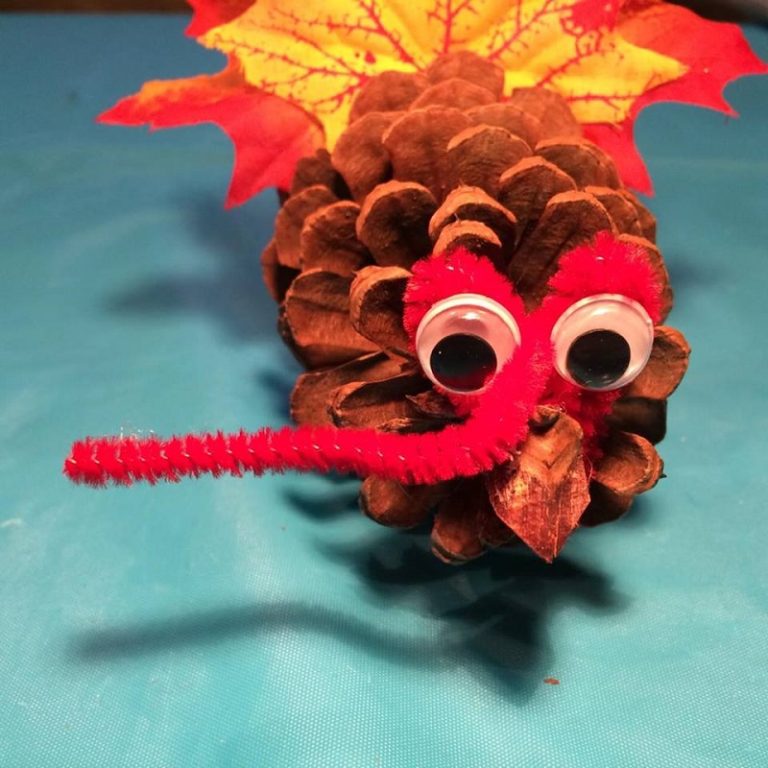
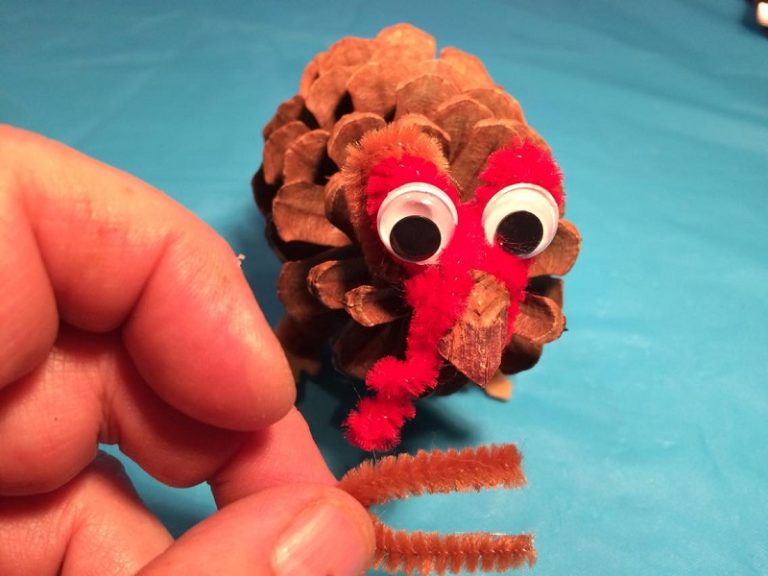
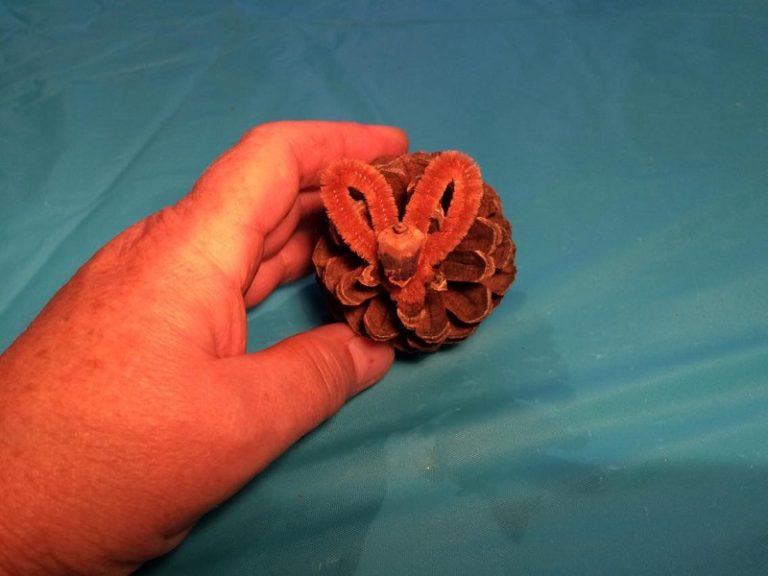
Finally to form the face, twist the base of the loops together and leave a small tip that the end of the pipe cleaner as seen in the picture. Position the face onto the tip of the pine cone an attach it with a drop of glue.
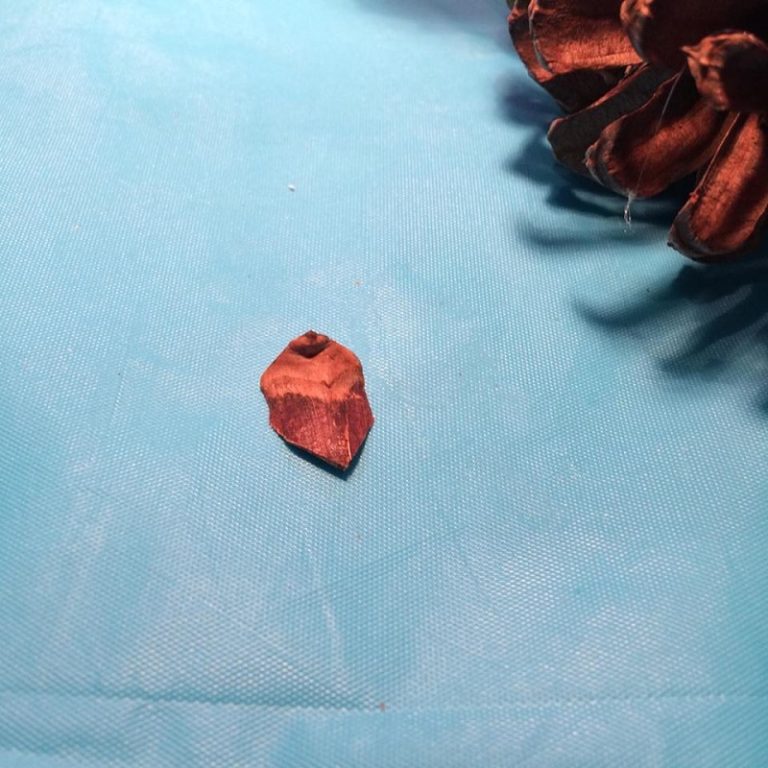
Next make a beak by trimming and shaping a pine cone scale as seen in the picture below.
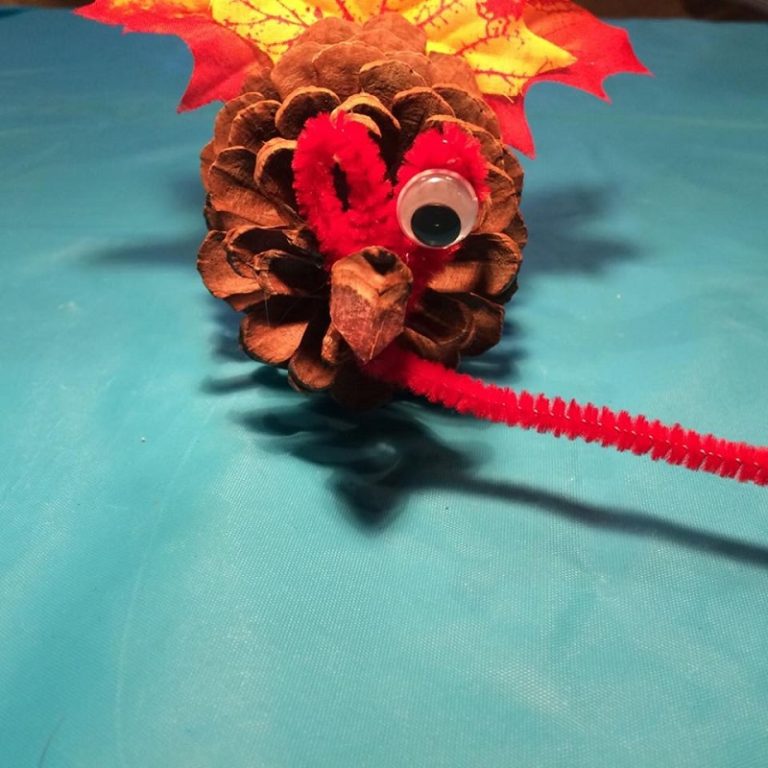
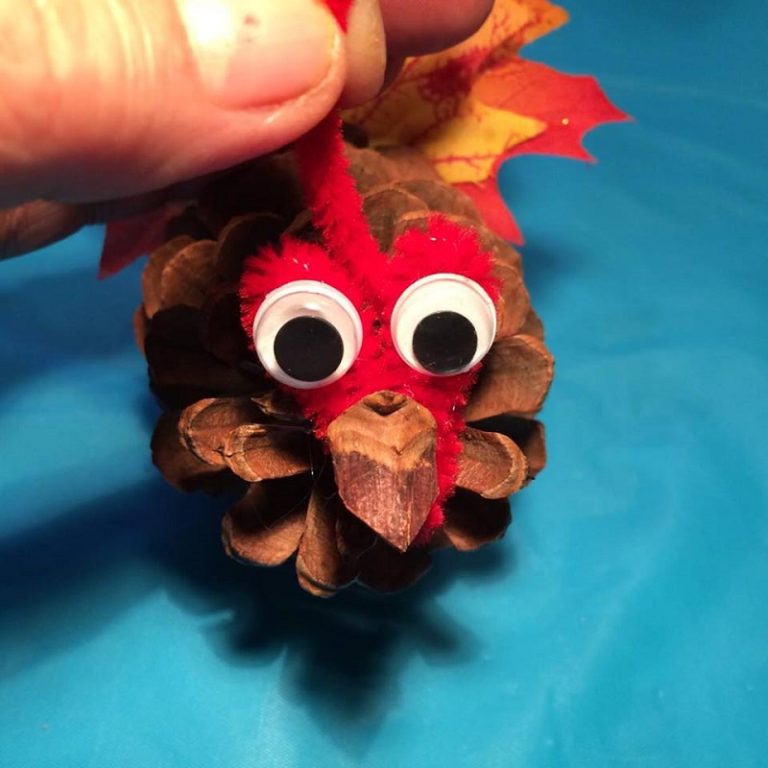
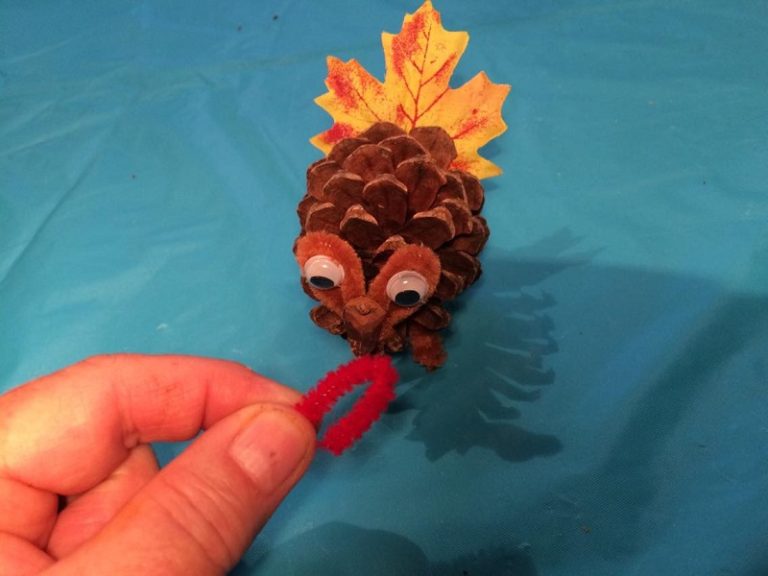
Now snip the tip of the pine cone and attach with hot glue to the little tip on pipe cleaner you made earlier when forming the face. Secure the eyes in place by placing a touch of hot glue to the back of the eye.
Then fold the long end of the pipe cleaner in behind the right eye and gently pull it in place between the two eyes.
After it’s in place, snip the pipe cleaner at about 3 inches from the center of the eyes.
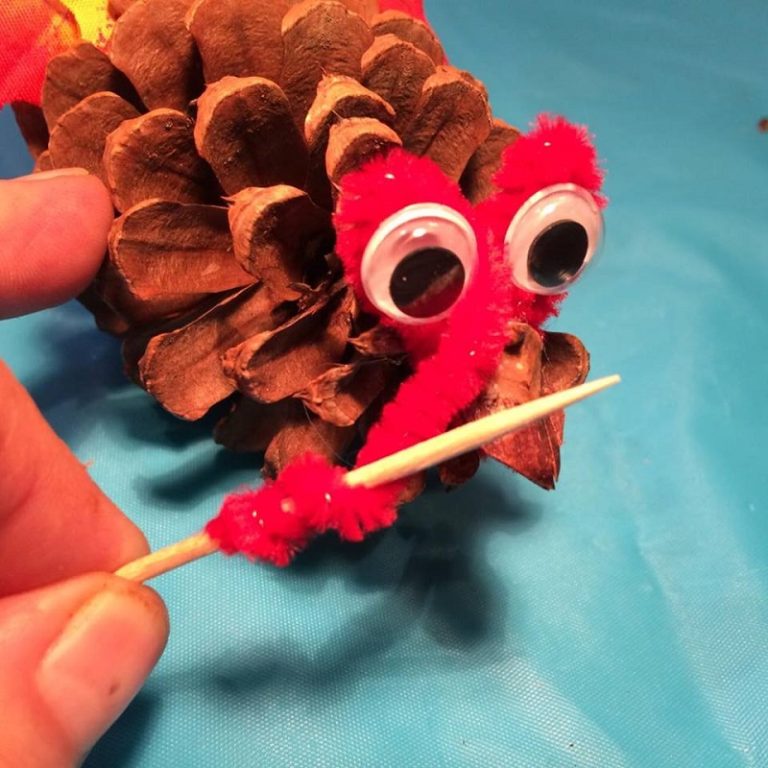
To shape the pine cone turkey’s “snoods” wrap the end of the pipe cleaner around a tooth pick to form a spiral.
next remove the tooth pick and gently squeeze the spirals together to shape it better.
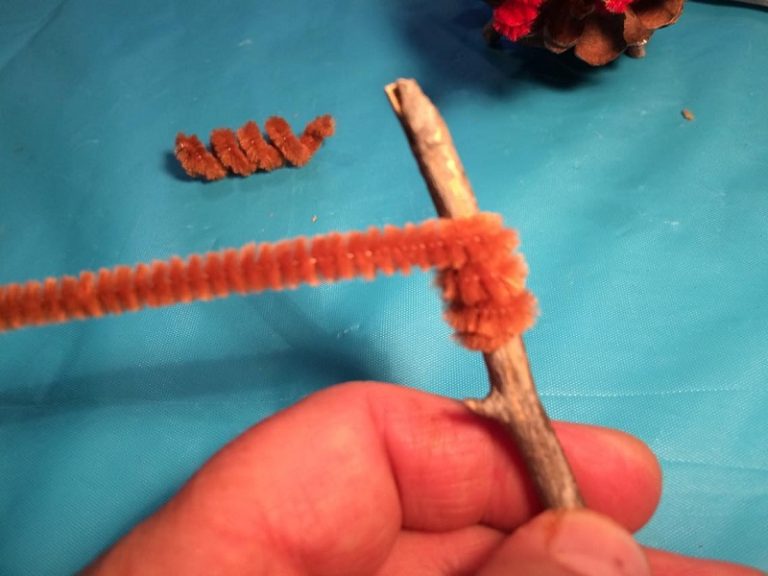
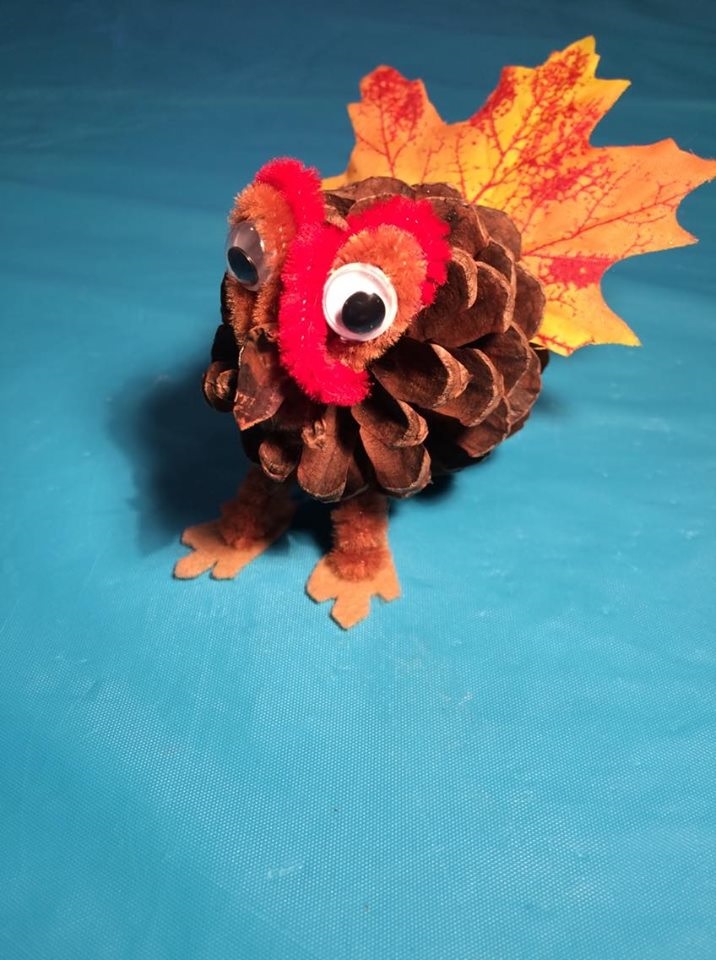
Pine Cone Turkey Tom Feet
Now snip two sticks at about 2 in long. Then position and glue them between the scales at the belly area to for the legs.
With a tan pipe cleaner, to form 2 spirals to about a 1 1/2 inches long after spiraling
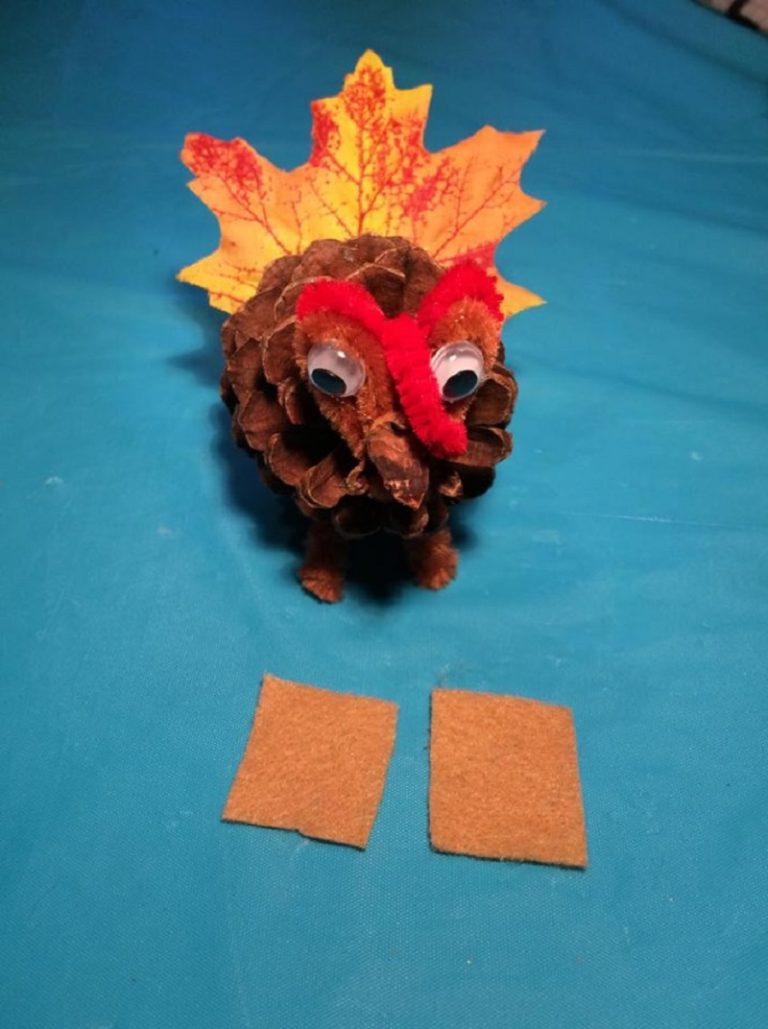
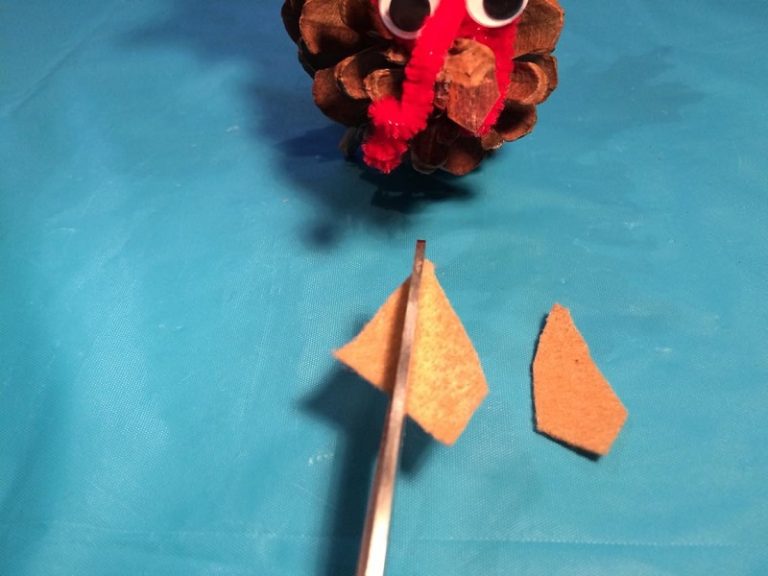
To make the feet you will cut two pieces of the tan felt about 1 ½ by ¾ inches. Cut the pieces to look like the ones in the pictures
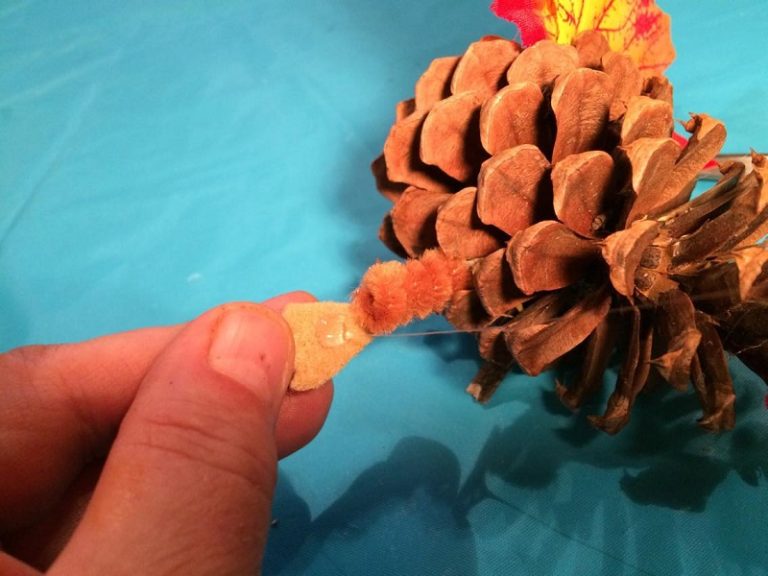
Slide the spirals over the legs (sticks) that were glued in place earlier. Put a drop of hot glue onto the felt foot and position it in in place to cool. This will also hold the spiral in place as well.
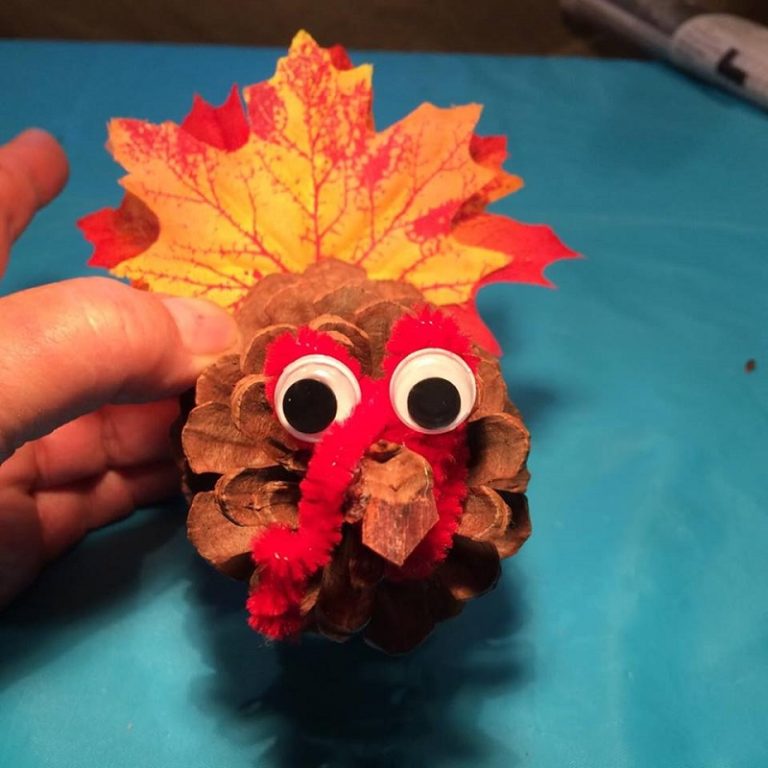
Before gluing the tail feathers in place, cut two piece of a ‘tan’ pipe cleaner about 2 inches long. Shape them into a U shape and with a touch of glue on the tips; slide each piece behind the red pipe cleaners that the eyes are mounted on. This makes somewhat of an eyebrow. Because of the color of the pipe cleaner, it’s difficult to see, but look closely at the picture and you can see one is already attached behind the left eye.
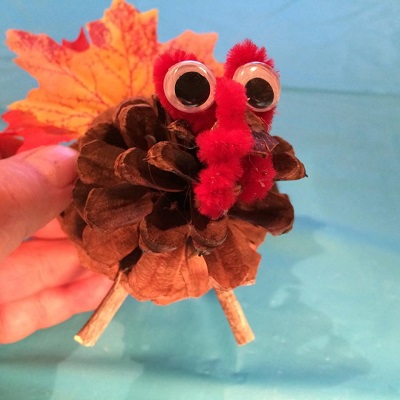
You are now ready to glue the tail feathers to the pine cone. Be sure to center the tail with the face and the feet. Secure them with a few touches of hot glue.” Your Tom turkey is complete!
If you find he needs a little help to stay standing, here’s what I did. Next glue a pine cone scale to the belly of the turkey, centered a couple of inches behind his legs. This will help balance him while he is standing.
Create Pine Cone Turkey Hens
The Turkey hens are made the same way as the Tom, with a few differences. The face of the hen is made with a ‘tan’ pipe cleaner.
Form the face in the same way as the Tom turkey but snip off the end of the pipe cleaner just below the twist.
Attach the pace onto the pine cone and secure the beak in place with hot glue.
Attach the eyes to the face and place some ‘red’ pieces of pipe cleaner behind the tan ones to form the eyebrows.
Now cut another piece of ‘red’ pipe cleaner about 1 1/4 inches long. Next gently curve the ends and form it into a ‘C’ shape. Then drape the piece between the eyes and over to the right of the beak to form the hen’s comb. Finally Attach it with a touch of glue on the end which is behind the eyes.
The legs, feet and tail of the hen are made and put together in the same way as the pine cone turkey tom.
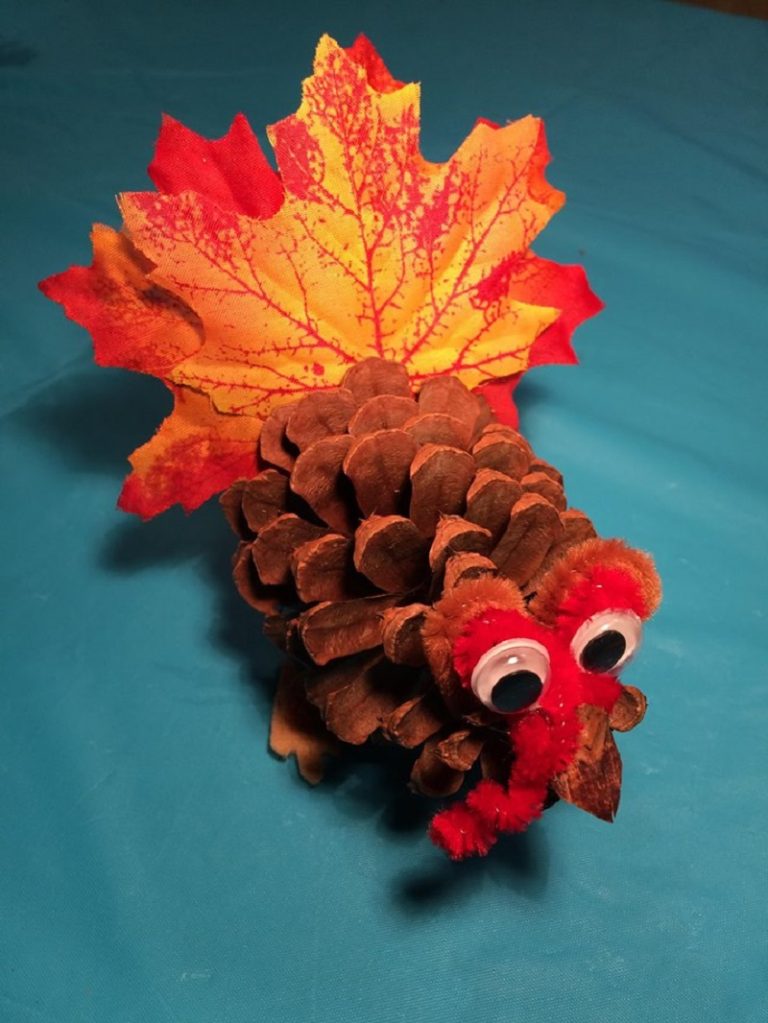
The finished hen looks like this. The second hen is made the same way as the first hen. The only differences are that the comb is draped and fastened to the opposite side of the beak.
Pine Cone Turkeys Complete!
Congratulations, you rafter of pine cone turkeys is complete! This set of turkeys will look great incorporated into a table center piece for the holidays!
This post may contain affiliate links. As an Amazon Associate, we earn from qualifying purchases.