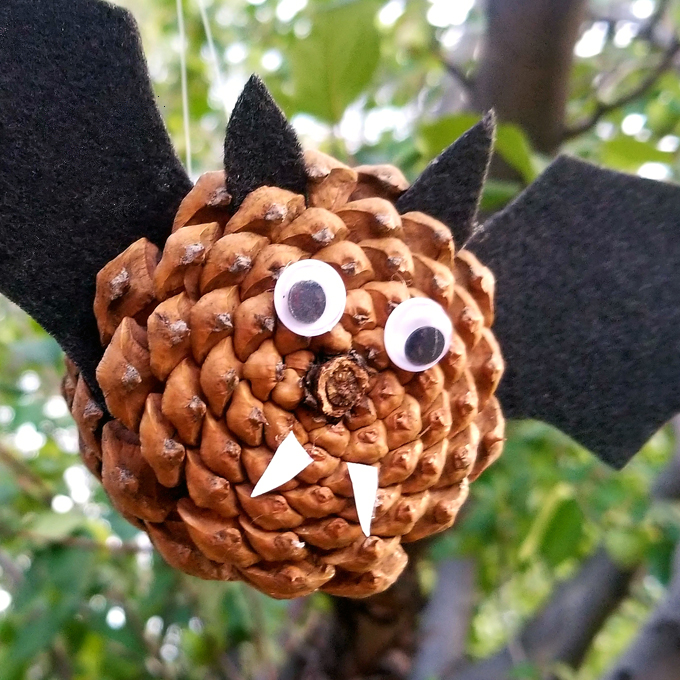
This cute pine cone bat is the perfect easy peasy Halloween craft for you to enjoy with your kids. Get all the pups together and create a whole colony of these fun little flyers for your Halloween decorations.
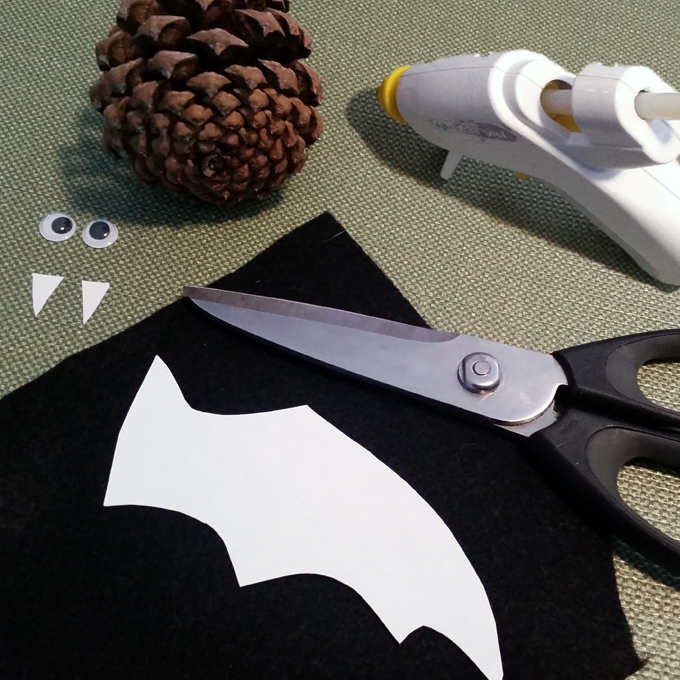
What you will need to make this Pine Cone Bat craft:
Download Free Bat Wing PDF Template:

Pine Cone Bat Directions:
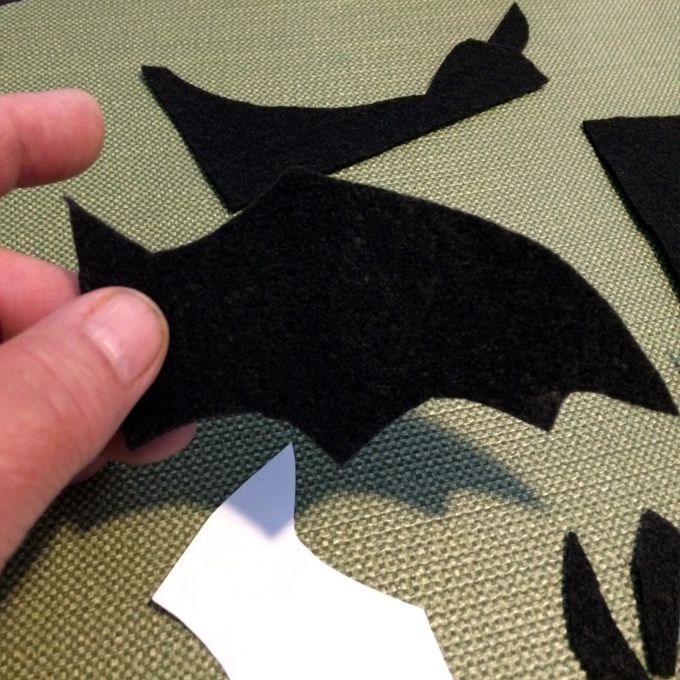
First of all create your pine cone bat wing template buy sketching out a bat wing on a piece of scrap paper and cutting it out. Because drawing a batch wing can be a little tricky we have made a Free Template you can download. Once you have you template lay it over the stiffened felt paper and use it as a guide to carefully cut out the first bat wing shape. Repeat this process for the second wing also I would not recommend trying to cut more that one piece of felt at a time as stacking them could cause the felt to slip while cutting it and distort your bat wings.

Position Bat Wings
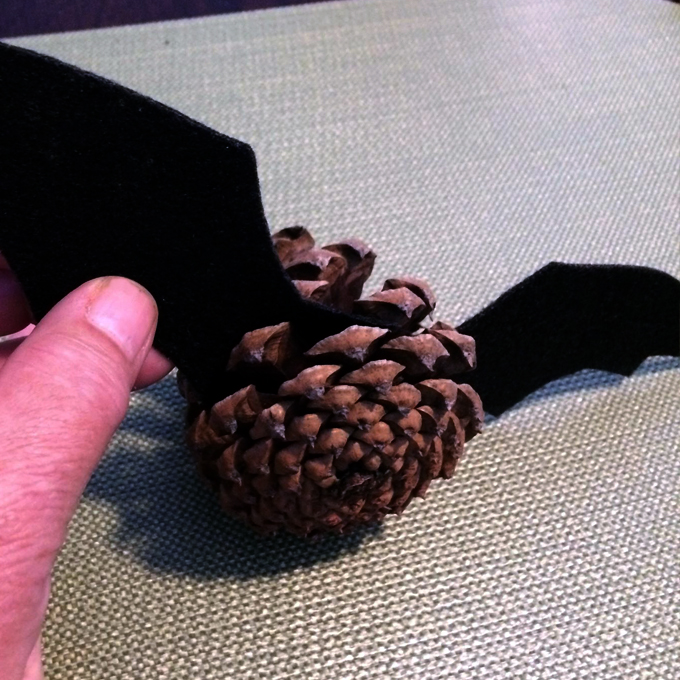
Next position the bat wings into the desired position, try your best to position the bat wings so they are even and symmetrical with each other. Play withe the placement before you add glue and once you are sure where you want them apply lots of glue to the tip of your wing and insert it into the pine cone abdomen.

Decorate Pine Cone Bat
Cut two bat’s ears from the leftover felt scraps and secure in desired position with hot glue. Then cut two small fangs out of some white card stock and attach with a small dab of hot glue. Finally complete your Pine Cone Bat by attaching the Wiggly Eyes with a small dab of hot glue. Furthermore to make a flying bat tie a piece of clear fishing line around the mid section of your bat and hang.

Recommended Products:
Image Source: WOCinTechChat, Icon Finder


