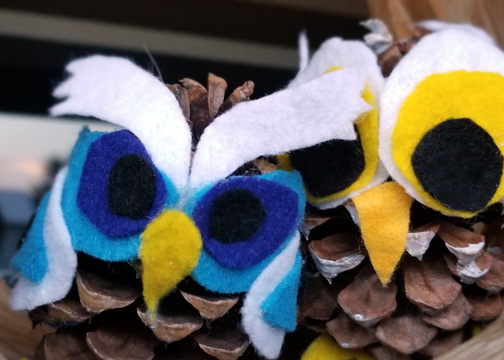
Up next we are giving this Pine Cone Owl tutorial! We are going to create these cute little Pine Cone Owls using felt paper and a Low Temp Hot Glue Gun. You can design you own custom shapes or download the free pine cone owl template we have provided. Either way crafting these pine cone owls is sure to be a Hoot for you and your kids!

What you will need
- A Round Pine Cone
- Scissors
- Low Temp Glue Gun
- Assorted Felt Fabric
- Pencil and Paper
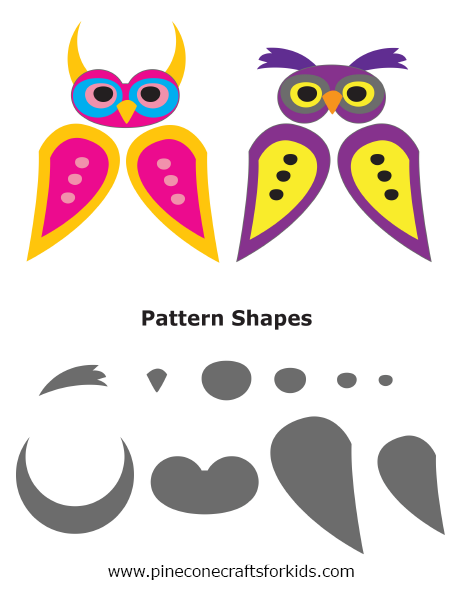
Start by sketching out the fabric shapes you want on paper and then cut them out to be used as templates alternatively you can just download and cut out our free template below.
Download Pine Cone Owl Template Here:

Create the Headpiece
First Choose your color pattern and cut out the felt paper shapes using you templates. Create your Pine Cone Owls head piece by layering on the shapes you cut out. Next start gluing the shapes together, start with the bottom layer and work your way to the top layer.


Once the eyes are assembled flip them over and glue the eyes and eyebrows all together creating one head piece. Next apply plenty of glue to the back of the head piece and stick it on to the pine cone in the desired spot.


Create the Wings
Assemble they wings the same way head piece was done then apply plenty of glue to the back and attach them to your Pine Cone Owl. You can either use pipe cleaners or felt to cut out a pair of tiny little feet to glue to the bottom as well.

Congratulations!
Your Pine Cone Owl is complete! Thank you viewing Pine Cone Crafts For Kids! Is you like this owl you will love the Pine Cone Bat.

Pingback: Pine Cone Crafts For Kids – Pine Cone Owl Wall Hanging – Pinecone Crafts For Kids
Fantastic crafting! Love this page!!
Thanks for the support Karen!